
We are in seasonal purgatory. That middle place between the crisp days of fall and the eagerly awaited birth of spring in Minnesota. During these arctic months John and I devote a fair amount of time to discussing our anticipation of warmer weather and the outdoor festivities that spring and summer will bring.
Because the seemingly never-ending length of our winters drastically limits the amount of time that we can spend outside, we relish every opportunity to take advantage of the mild days by creating unique and memorable ideas for climate friendly activities. In an earlier blog post I shared the process of building a festive patio bar. This movie screen is the perfect compliment to that backyard entertainment space.
It’s been on John’s bucket list for a while to create a large transportable movie screen that can be utilized either inside or out. As those of you who follow our empty nester adventures and my Instagram feed know, we enjoy working on unique DIY projects together so designing and building this was a fun challenge. We completed it in early fall but I felt it would be valuable to share this with readers at this time as many are likely searching for things to keep busy while house-bound during our current deep freeze. If you live in an area of the world or the country that doesn’t require parkas half of the year, this is something you can build now and use year round.
We spent a great deal of time online and in home improvement stores investigating what supplies would be necessary to get started. See below:
We used 1 X 4’s to build the frame – held together with brackets and screws.


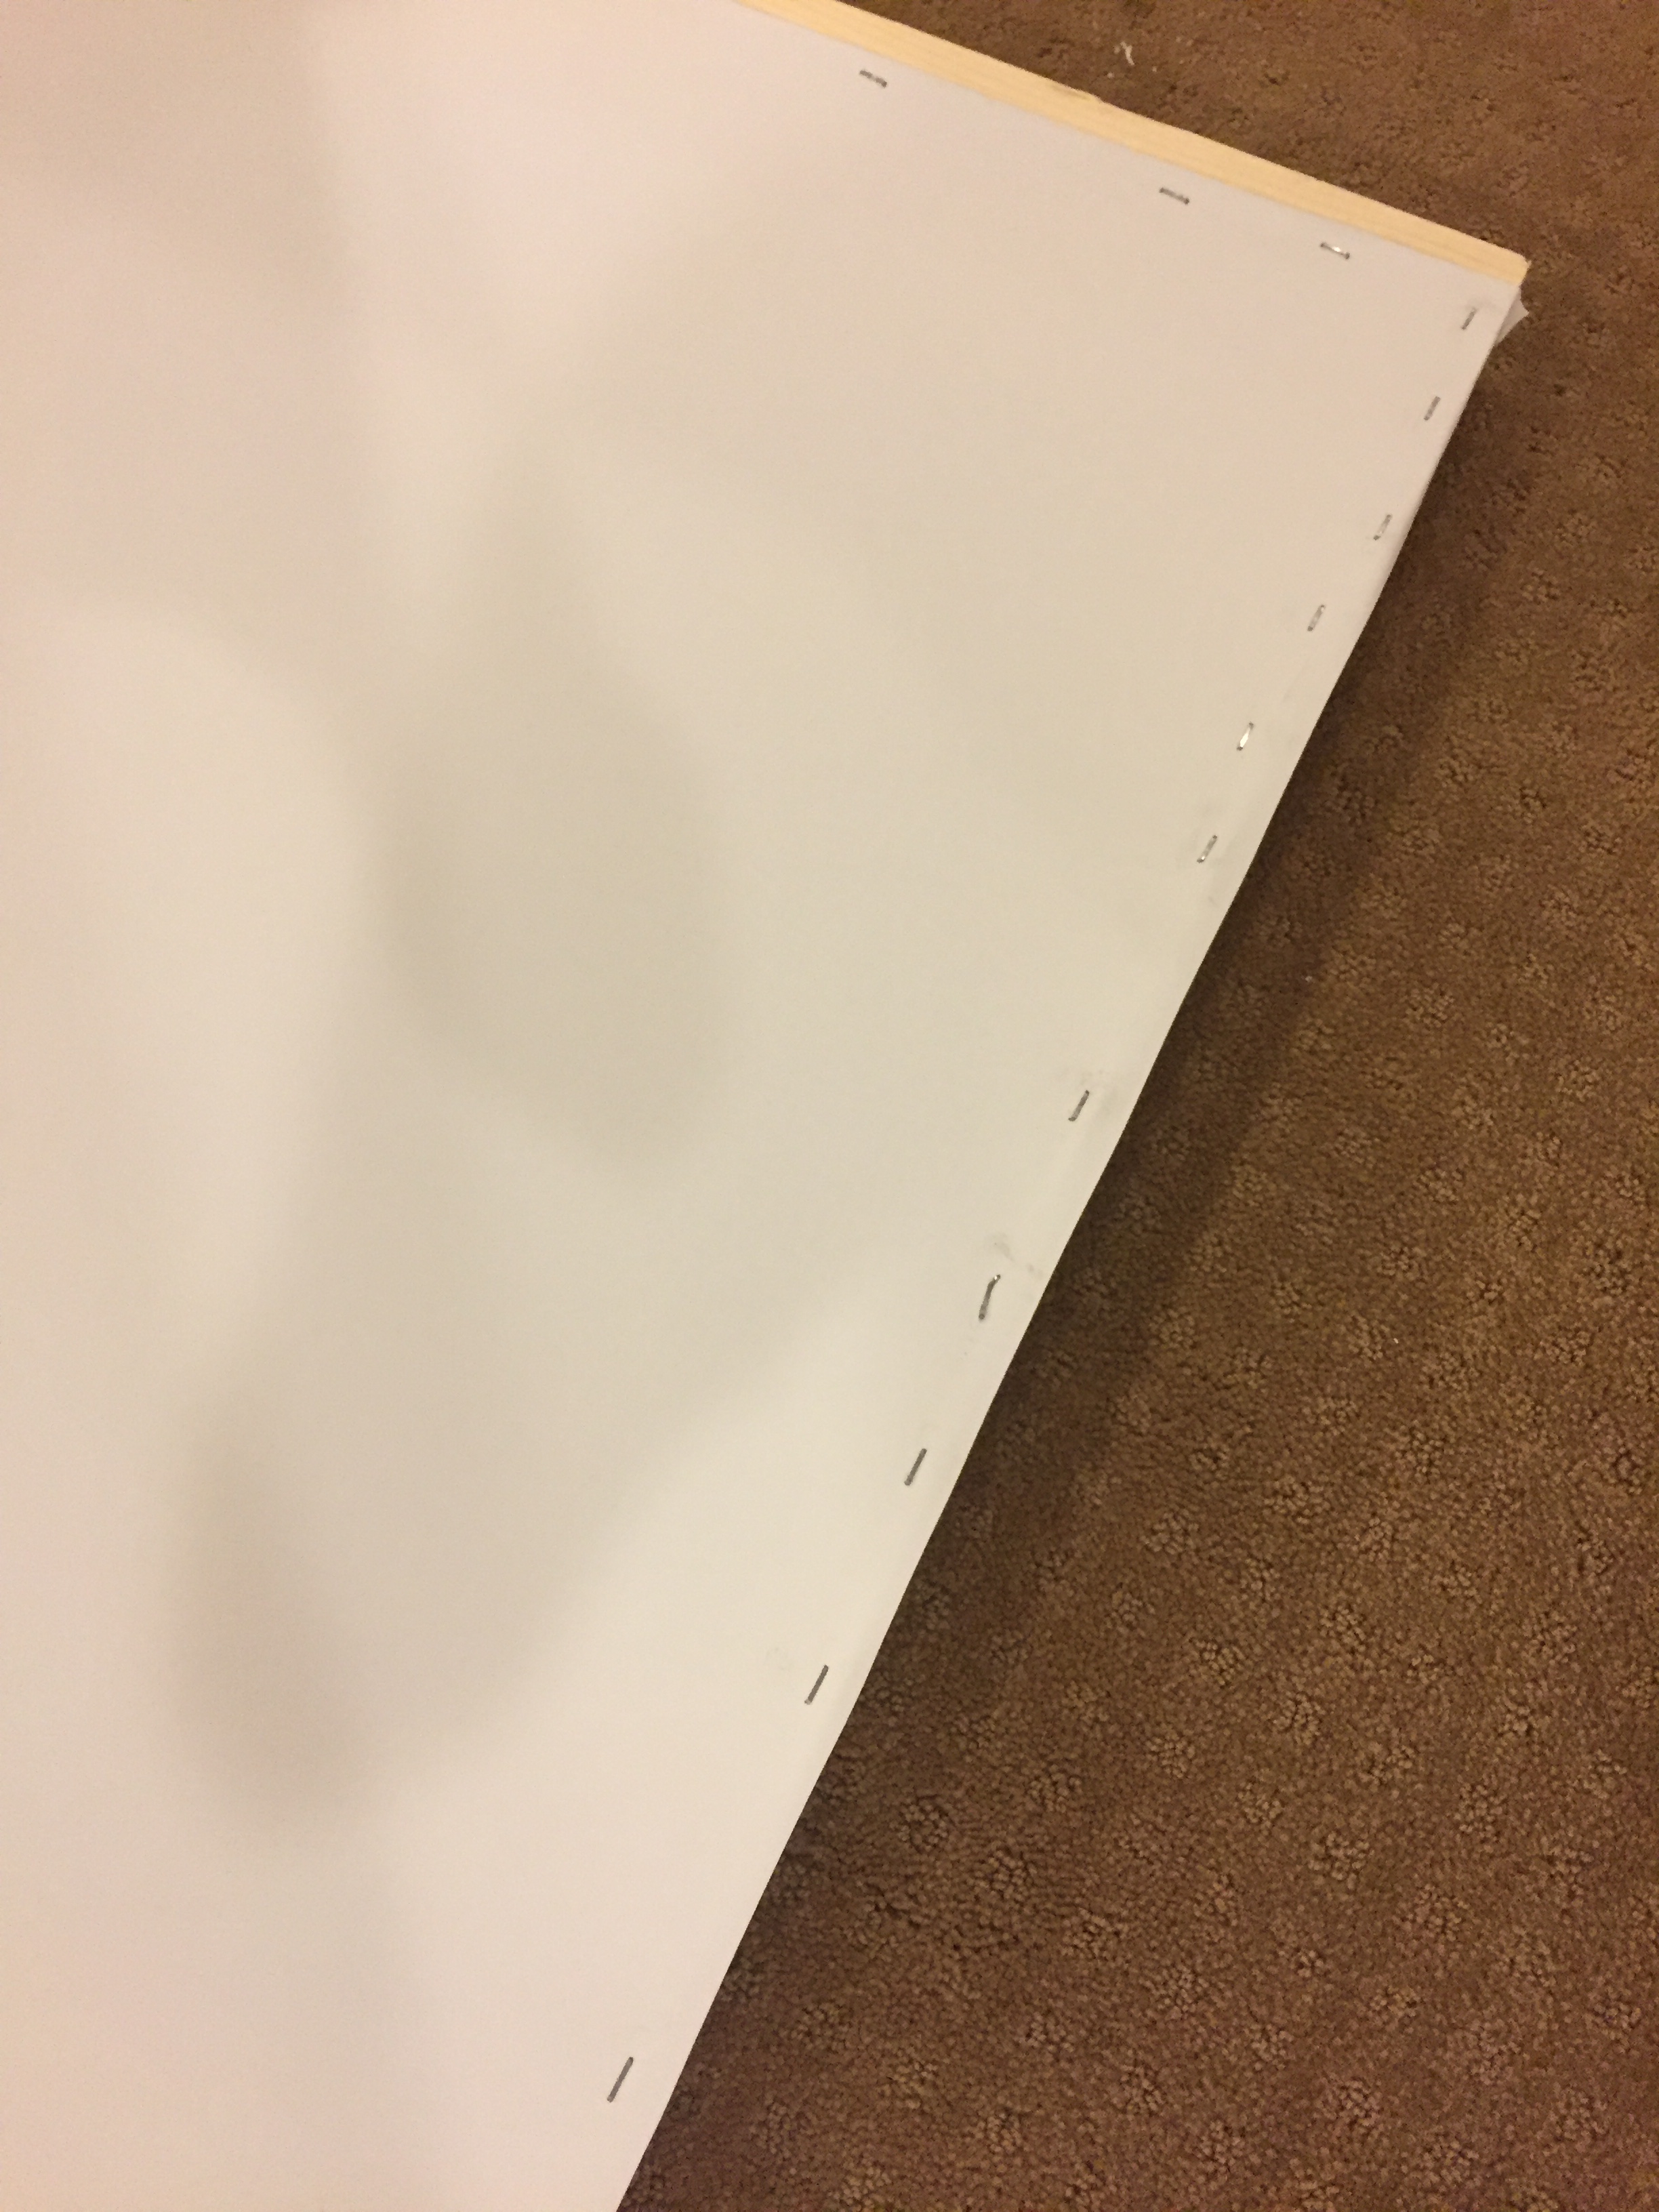
We pulled the screen taught and carefully stapled it to the wood frame. This will take two people.
The projector screen is made by Carl’s Place, LLC and was fulfilled through Amazon. The screen is available in different sizes. Follow this link for more information or to purchase.

We applied black gaffer tape around the edges – this was done to create a defined border and to cover the staples.
John fashioned a retractable post system – plastic tubes were attached on either end of the wood frame and metal posts were placed in the ground for easy insertion and removal of the screen. We used tent stakes and parachute cord to provide additional stability.

We bought an Epson Home Cinema 1080P DLP projector based on it’s excellent reviews and a Vizio sound bar with a digital amplifier. Both were purchased from Best Buy.
A DVD or Blu-Ray player can be connected and used with an HDMI cable, connect the cable to the sound bar then connect sound bar to the projector to get started.

Since its completion we have enjoyed pre-recorded concerts, music videos and movies with friends in our backyard.

If you will it Dude, it’s no dream…. The Coen brothers, The Big Lebowski
I provided the general framework for the project today. Please comment or message me if you would like more specific details regarding tools, materials or the building process.
You can also follow @lpatrin on Instagram and Twitter